12 月 . 04, 2024 09:50 Back to list
installing sheet metal roof
Installing Sheet Metal Roof A Comprehensive Guide
Installing a sheet metal roof can be a daunting task, but with the right tools, knowledge, and preparation, it can also be a rewarding DIY project. Sheet metal roofing is known for its durability, longevity, and energy efficiency, making it an ideal choice for many homeowners. In this article, we will guide you through the essential steps to successfully install a sheet metal roof.
Materials and Tools Required
Before starting your project, gather the necessary materials and tools. You will need
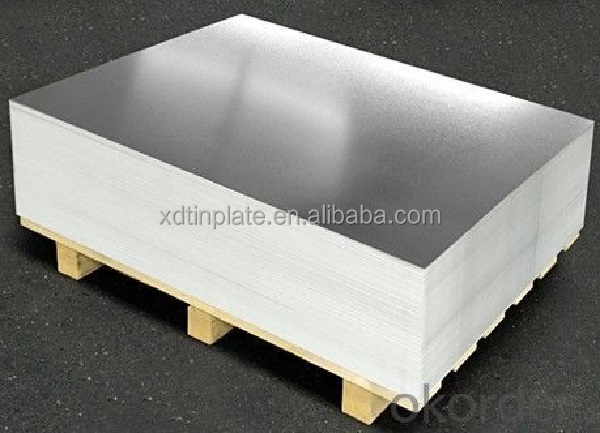
- Sheet metal panels (galvanized steel, aluminum, or copper) - Underlayment (felt paper or synthetic) - Roof flashing - Roofing screws (preferably with rubber washers) - A chalk line for marking - A measuring tape - A circular saw or metal shears - A drill with appropriate bits - Safety gear (gloves, goggles, and a hard hat)
Preparation
1. Assess the Roof Begin by inspecting your existing roof structure. Ensure it is free from rot, debris, and damage. If your roof is too saggy or structurally weak, you may need to make repairs before proceeding.
2. Measure the Area Accurate measurements are crucial. Measure the length and width of your roof to determine how many sheet metal panels you will need. Always order a little extra to account for mistakes or unexpected issues.
3. Choose the Right Metal Select the type of metal roofing that suits your needs best. Aluminum is lightweight and resistant to corrosion, while galvanized steel is more robust and cost-effective. Copper offers aesthetic appeal but comes at a higher price.
Installation Process
1. Install Underlayment Before placing the metal panels, lay down an underlayment over the entire roof surface. This will provide an additional layer of protection against moisture.
installing sheet metal roof

2. Start at the Bottom Begin your installation from the bottom or lowest part of the roof, moving upwards. This ensures that each panel overlaps the one below it, preventing water from leaking through seams.
3. Mark Your Panels Use a chalk line to mark where the panels will go. Ensure that your lines are straight and evenly spaced to maintain a neat appearance.
4. Cut the Panels If needed, cut the metal sheets to the appropriate size using metal shears or a circular saw fitted with a metal-cutting blade. Remember to wear safety gear when cutting.
5. Secure the Panels Position the first panel on the roof, ensuring it aligns with your chalk line. Use roofing screws to secure the panel, placing screws about every 12 to 16 inches along the ridge and bottom edges.
6. Overlap and Continue Install subsequent panels by overlapping them with the previous one. Make sure to follow the manufacturer's instructions regarding spacing and fastening. Each new panel should cover at least 1.5 inches of the previous panel.
7. Install Flashing Flashing is essential for preventing leaks at joints, valleys, and chimneys. Install flashing wherever necessary to ensure a watertight seal.
8. Final Rounds Once all panels are secured, double-check your work. Ensure that all screws are tightened and that there are no loose panels. Snap a final chalk line if needed to trim any excess.
Finishing Touches
Add finishing touches, such as installing ridge caps at the peak of the roof and inspecting all seams and joints to ensure everything is sealed correctly. Clean up any debris and ensure that all tools are put away safely.
Conclusion
Installing a sheet metal roof can be an exciting and challenging project that enhances the aesthetic and functional aspects of your home. While it requires careful planning and execution, the benefits of longevity and energy efficiency make it worth the effort. With proper safety precautions and attention to detail, you can achieve a professional-looking result that will protect your home for many years to come. If at any point you feel unsure, don’t hesitate to consult a professional to ensure your roofing project is a success.
-
Galvanized steel sheet price hot-dip galvanized
NewsMar.07,2025
-
Galvanized steel sheet price hot-dip galvanized
NewsMar.07,2025
-
Galvanized steel sheet price hot-dip galvanized
NewsMar.07,2025
-
Galvanized steel sheet price hot-dip galvanized
NewsMar.07,2025
-
Galvanized steel sheet price hot-dip galvanized
NewsMar.07,2025
-
buy corrugated roof sheet end capping
NewsMar.07,2025